Jump to RecipeOriginally posted in September 2016, this is one of my most popular fall recipes on my blog. In September 2020 I updated the post with a printable recipe card. Enjoy!
Fall is finally here!!!
My absolute favorite season has arrived and I could not be a happier girl – the leaves are just starting to turn, pumpkins are popping up everywhere and apple picking is in it’s prime. I have fond memories of going apple picking as a child – my mom would take me to Miller’s Big Red Orchard where we’d ride the apple wagon out into the fields and fill up our bushel baskets (and our bellies) until they were overflowing with apples. Then we’d stop for fresh pressed apple cider and warm apple cider donuts – a most perfect fall afternoon in my book.
Since the nostalgia of apple picking is so meaningful to me, I have been determined to share the experience with my children. This past weekend my little family of 4 headed westward for a day at Edward’s Orchard in Poplar Grove, IL. My hubby and I have been going here for nearly 10 years – well before we had kids. It is a fantastic family owned orchard and I love the quaint charm of it – the music from the farm band playing, the sweet and spicy smell of fresh donuts being made, the sight of dust trailing behind the apple tractors as they head off into the fields – it’s all so very familiar and homey that you can’t help but fall in love with, well FALL, itself!
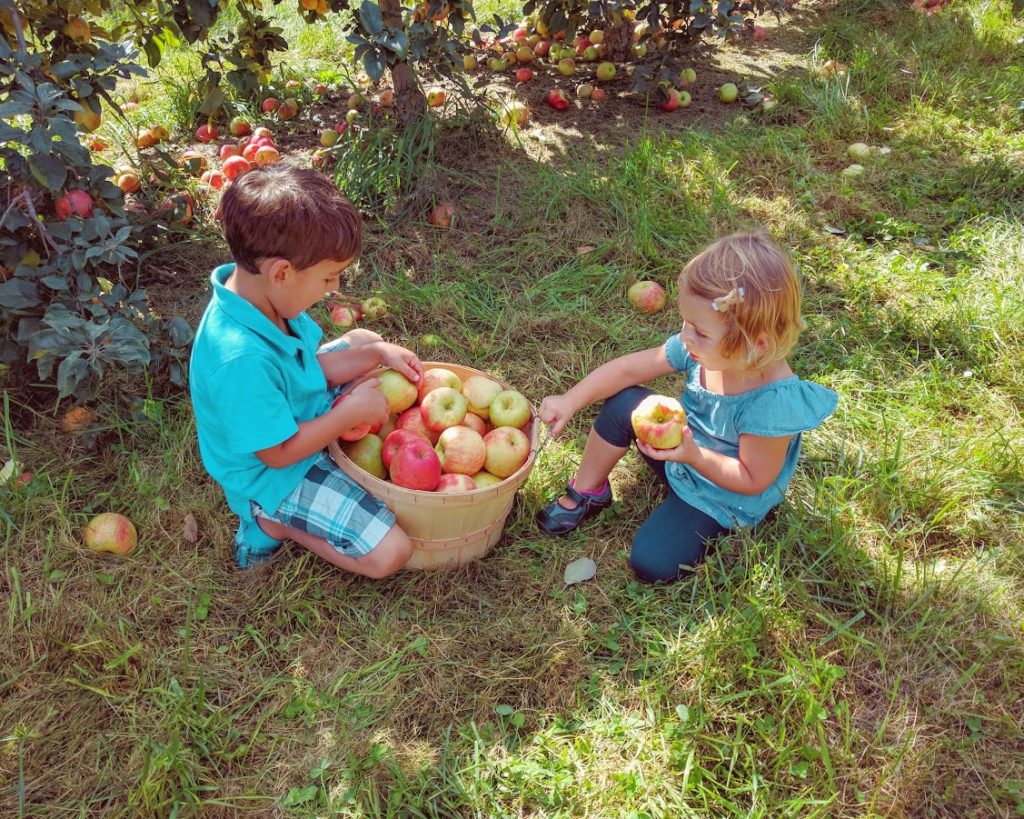
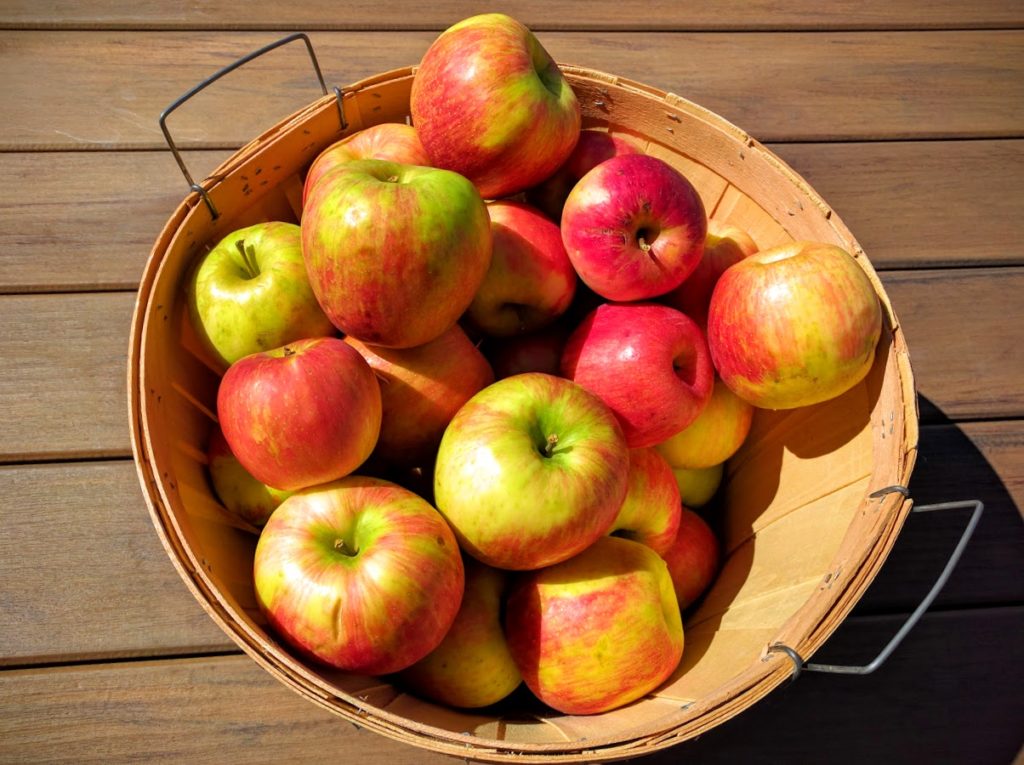
By the end of our afternoon we had filled (read: overflowed) a bushel basket with honey crisp apples, yes, a whole entire bushel of honey crisp apples #swoon. We’ve been eating them like crazy! But still, we have so, so many apples! Look, here’s what’s still remaining after eating about a dozen.
So, naturally, I made apple crisp 🙂 Now, some people prefer apple pie, some apple cobbler, but not me – I prefer the nutty crispy crunch and the sweet, syrupy bite of apple that is a “crisp.” And here is how I make it…
Let’s Make Orchard Fresh Honeycrisp Crisp
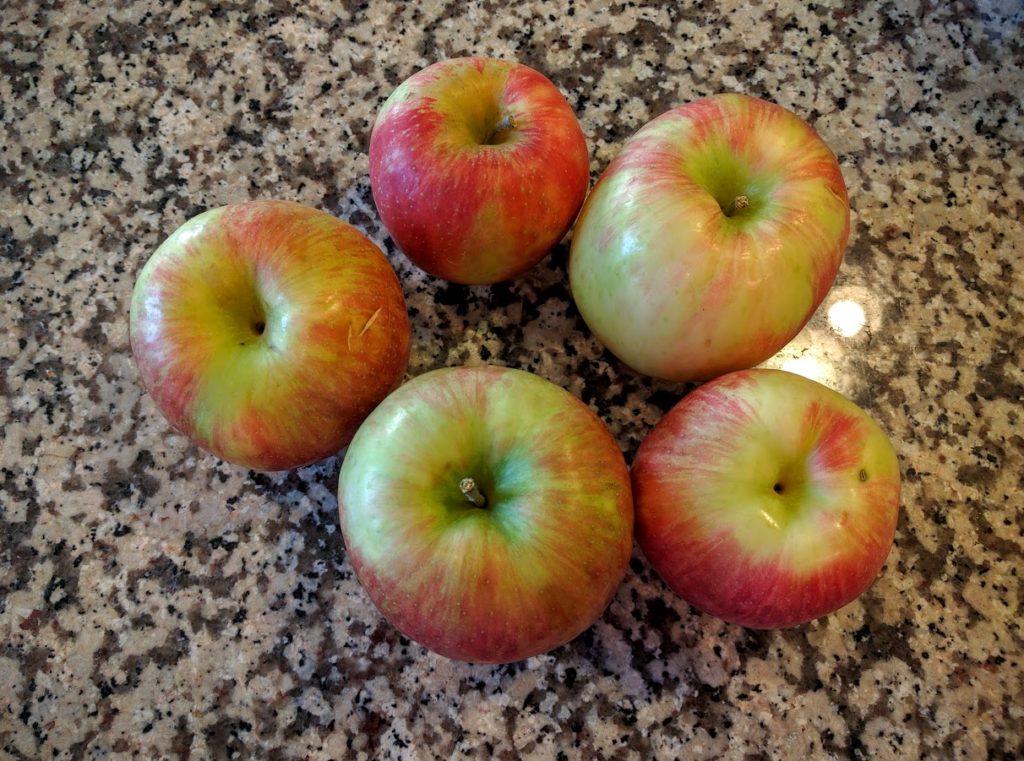
First things first, you need to wash and peel your apples. I try to use the less “pretty” apples to bake with because they’re going to get cooked down anyways and no one will see that they may have had some blemishes. I weighed my apples for you, so you would know how much to buy/use in the recipe. Here are my 5 apples that weighed 3 pounds!
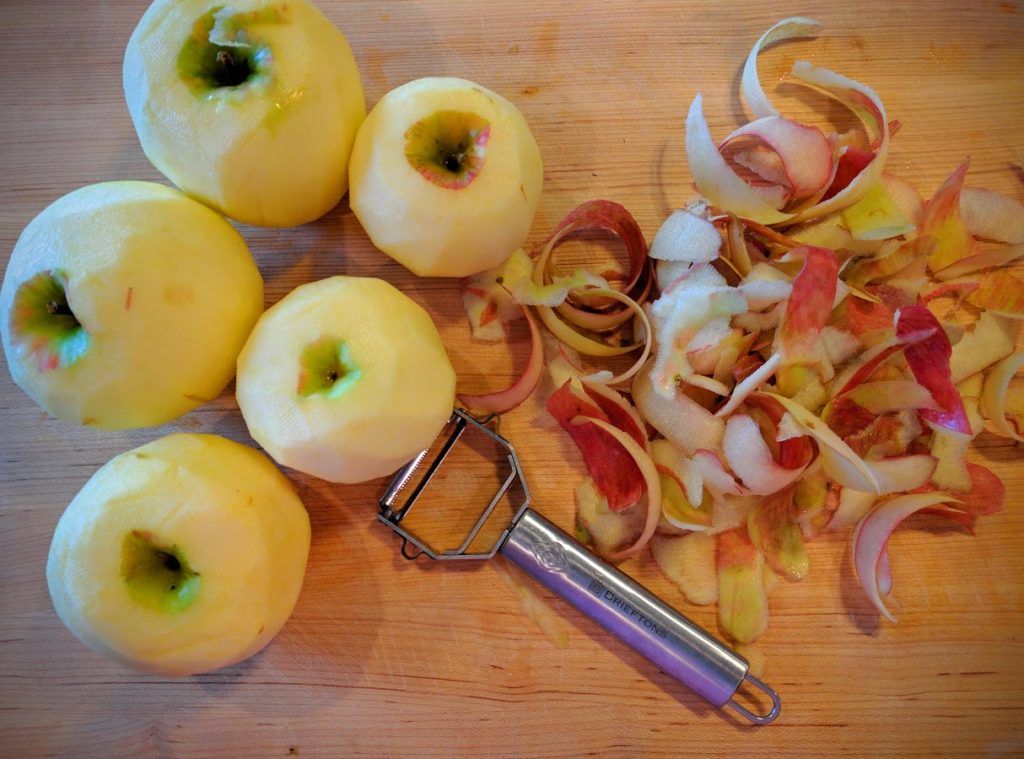
Next wash and peel them. I have tried so many peelers and honestly I received this set as a gift and I absolutely LOVE the serrated stainless steel peeler. Here is my beautiful mess – this took me about 2 minutes, tops 😉
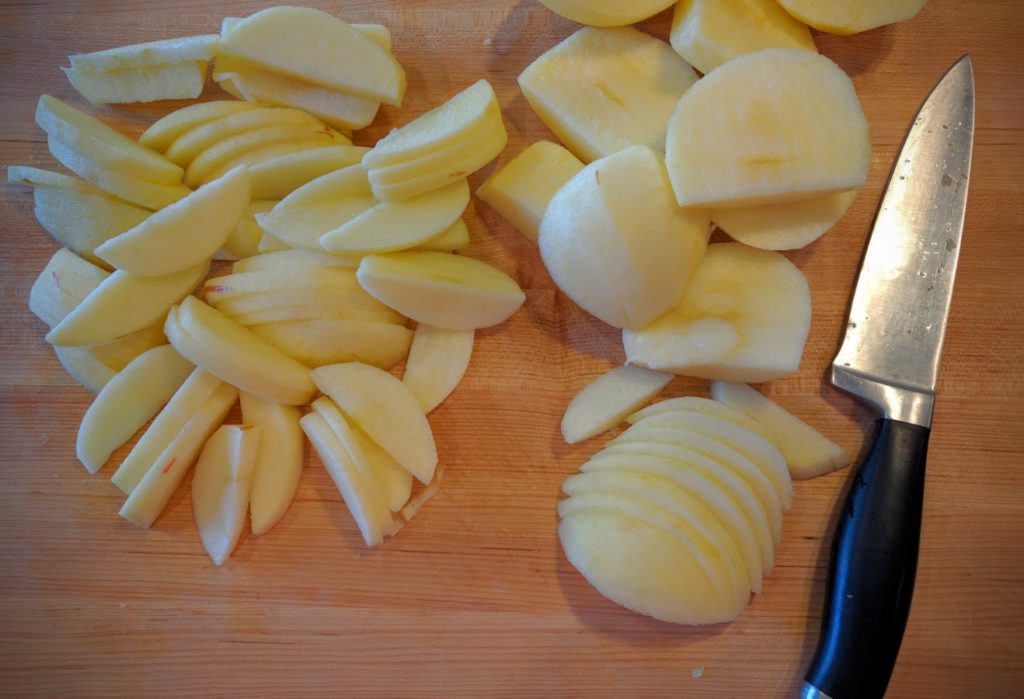
Next slice up these beauties. Try to make your slices uniform so that the apples cook consistently.
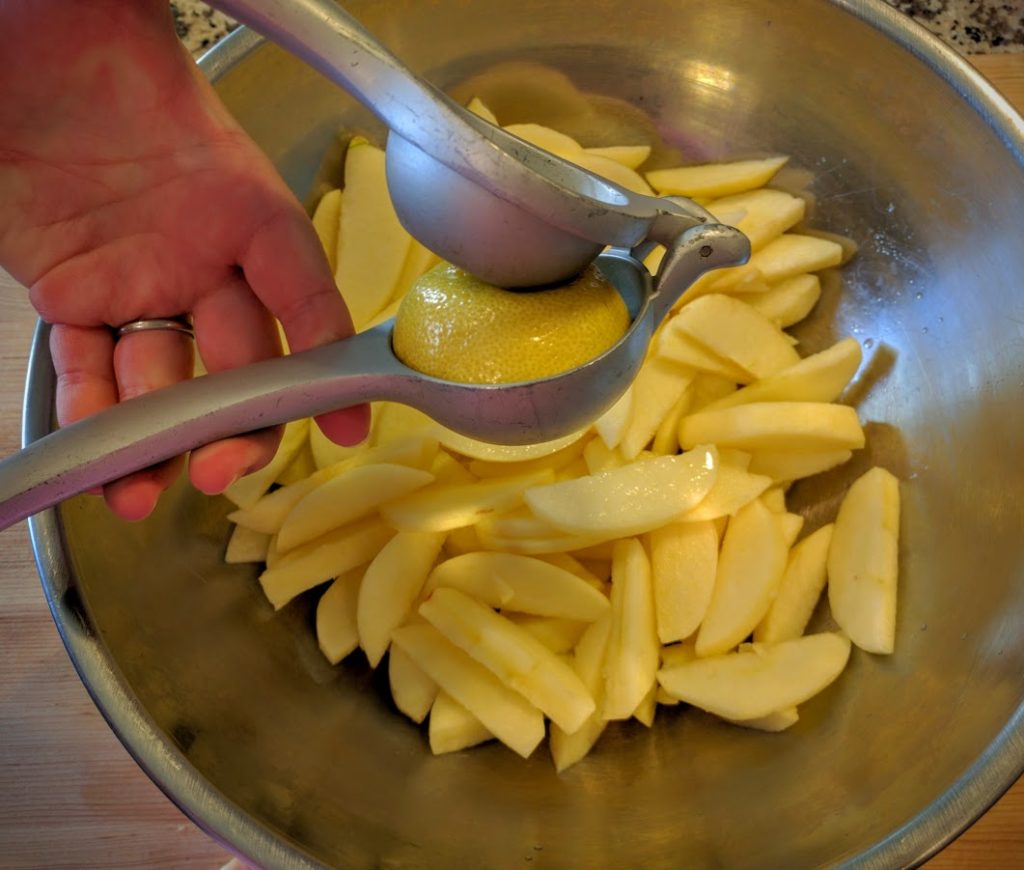
Now add all of your sliced apples to a large bowl and squeeze the juice of 1/2 a lemon over them, yes I said lemon – you won’t even taste it in the end, but the extra acid helps to balance the sweetness of the apples.
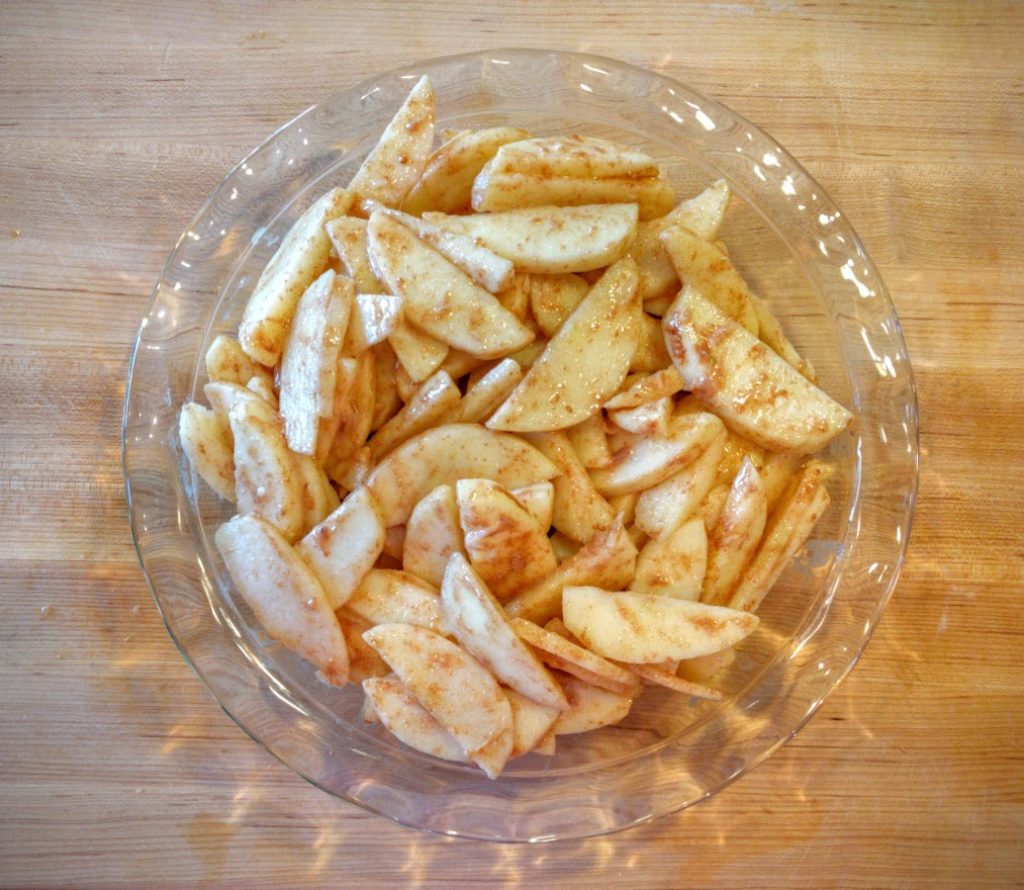
Now sprinkle in the flour, sugar and cinnamon, just like this….
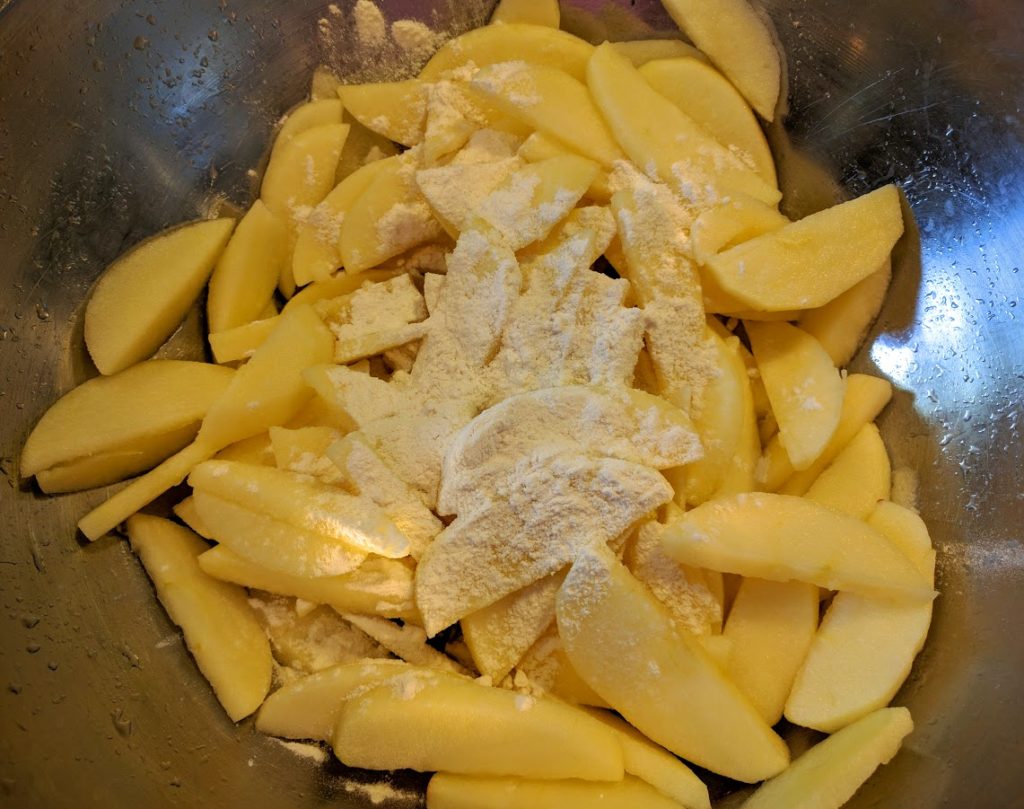
…and toss it all around. Now pour all of those beautifully coated apples into a 9.5 inch pie pan. I use a pie pan because it’s easy, it’s pretty and almost everyone owns a pie pan. If you don’t happen to own one, not a problem you can use an 8 x 8 glass square baking dish – sure hope you have one of those and if not, go to the store and buy yourself a pan!
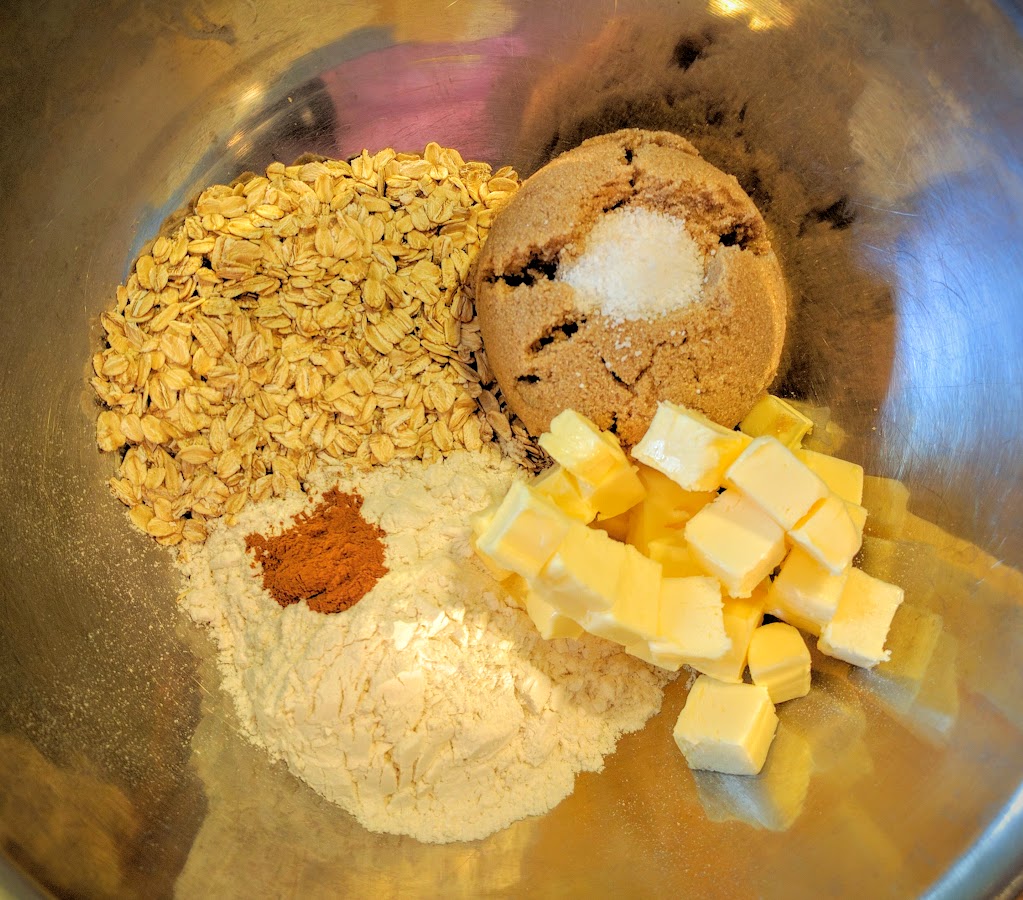
On to the topping! In a medium bowl add in the brown sugar, oats, flour, salt, cinnamon and butter. Make sure to cut the butter into small cubes.
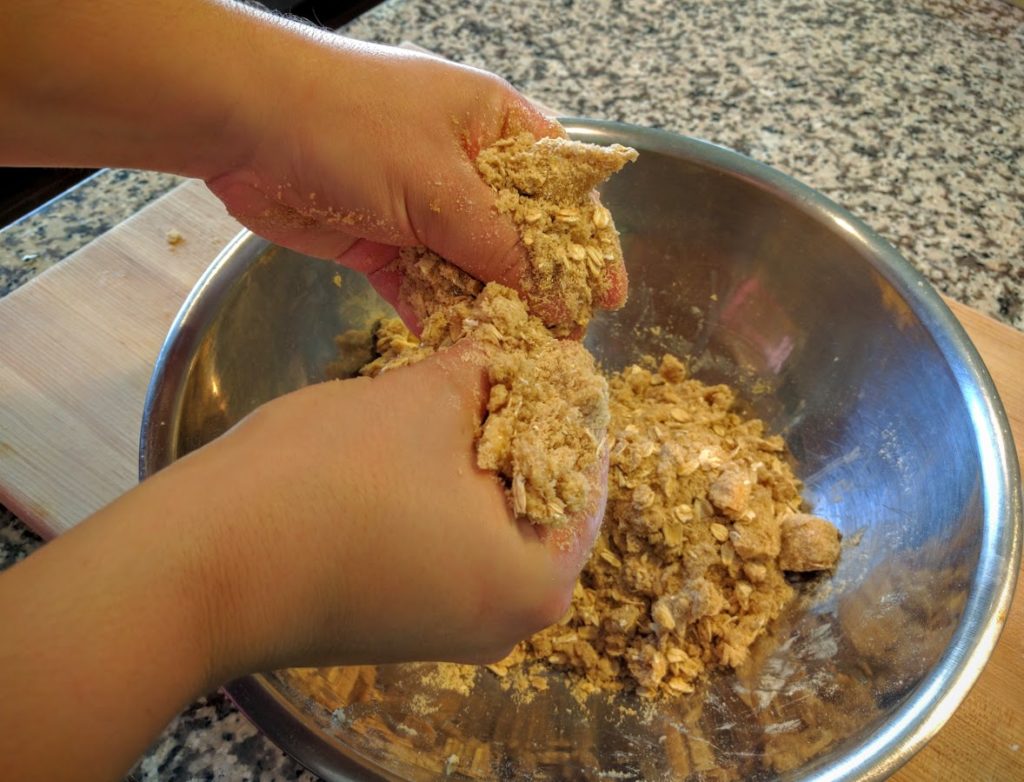
Now is the fun part 🙂 With (clean) hands begin to mix the ingredients together. You want to make crumbs – I do this by pinching the butter into the dry ingredients. Here’s an action shot of me pinching and rubbing the butter into the bowl, then I pick it up and repeat until I get a sand like consistency with some large crumbs in it. This should take about a minute.
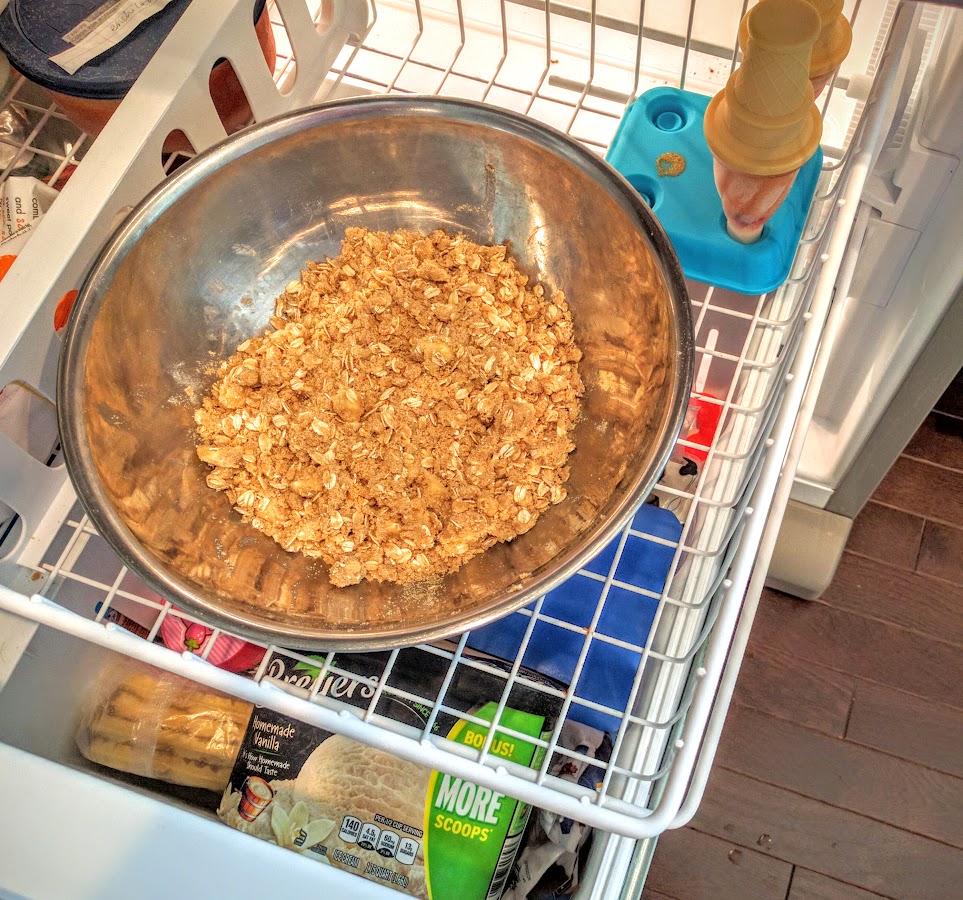
Next, I park this bowl in my freezer for 5-10 minutes while the oven is preheating to 375 degrees. You don’t have to put yours in the freezer, but it is my secret trick to help keep the butter cold, which will result in a better “crisp” topping.
Once the oven is preheated, grab your crumb topping and sprinkle evenly over your apples. Like this, so pretty!
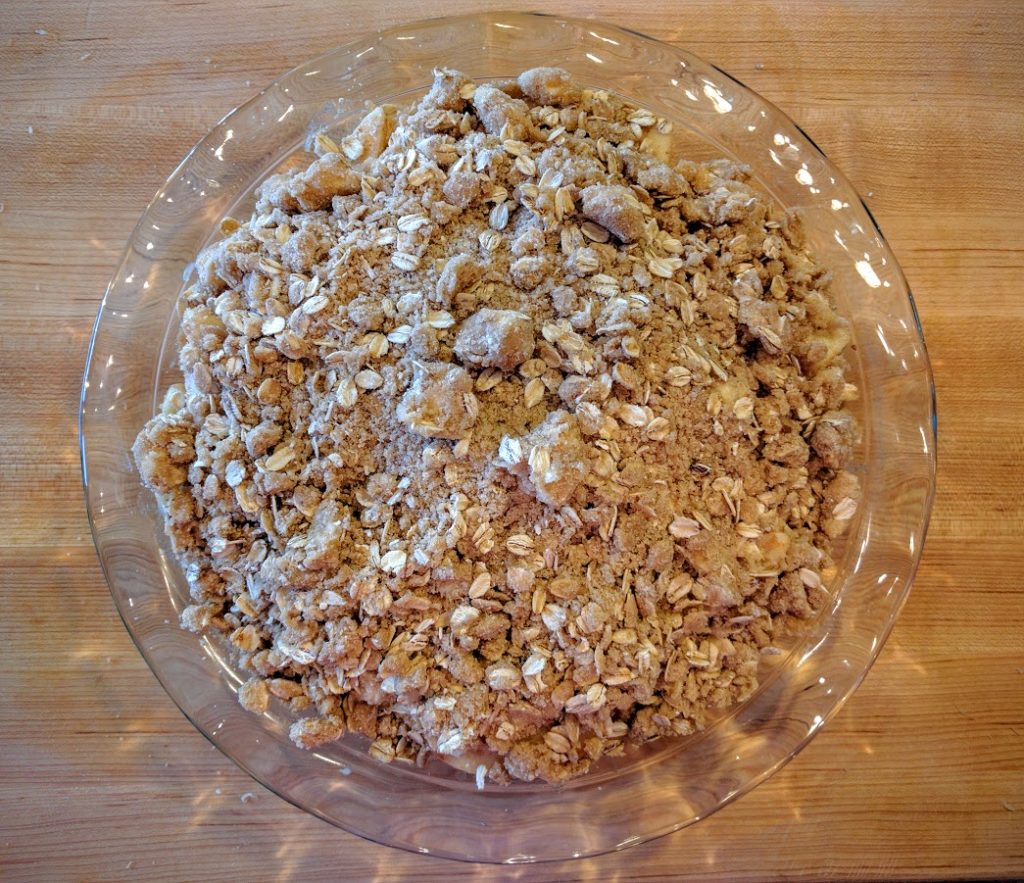
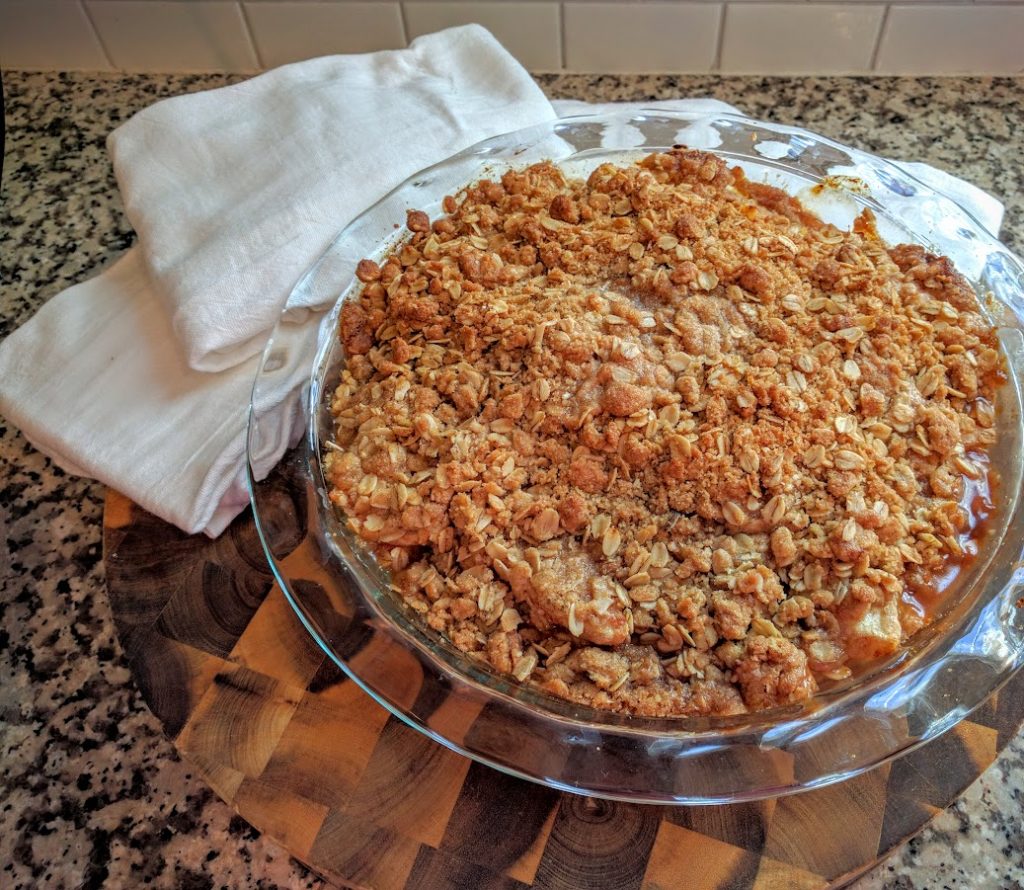
This pretty little thing is headed to the oven for a 45-50 minute trip. Your house will start to smell divine and you will know your crisp is done because the top will turn a lovely golden brown and you will see the saucy apples bubbling around the edges. Remove promptly and allow to cool for 20-30 minutes before serving.
Straight from the Oven
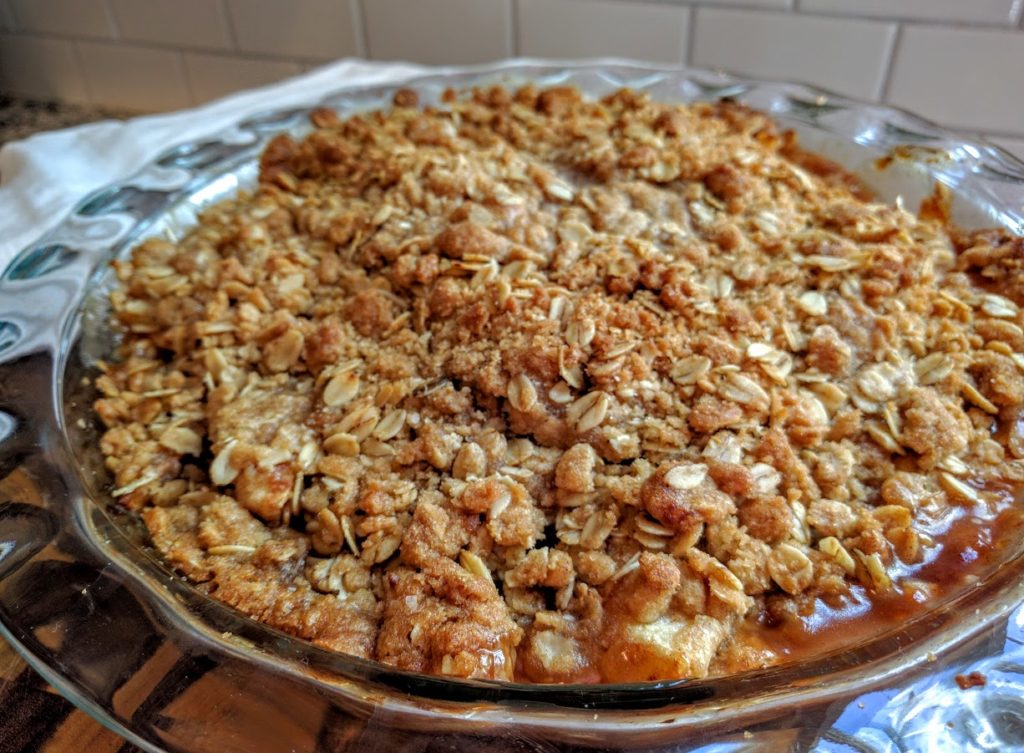
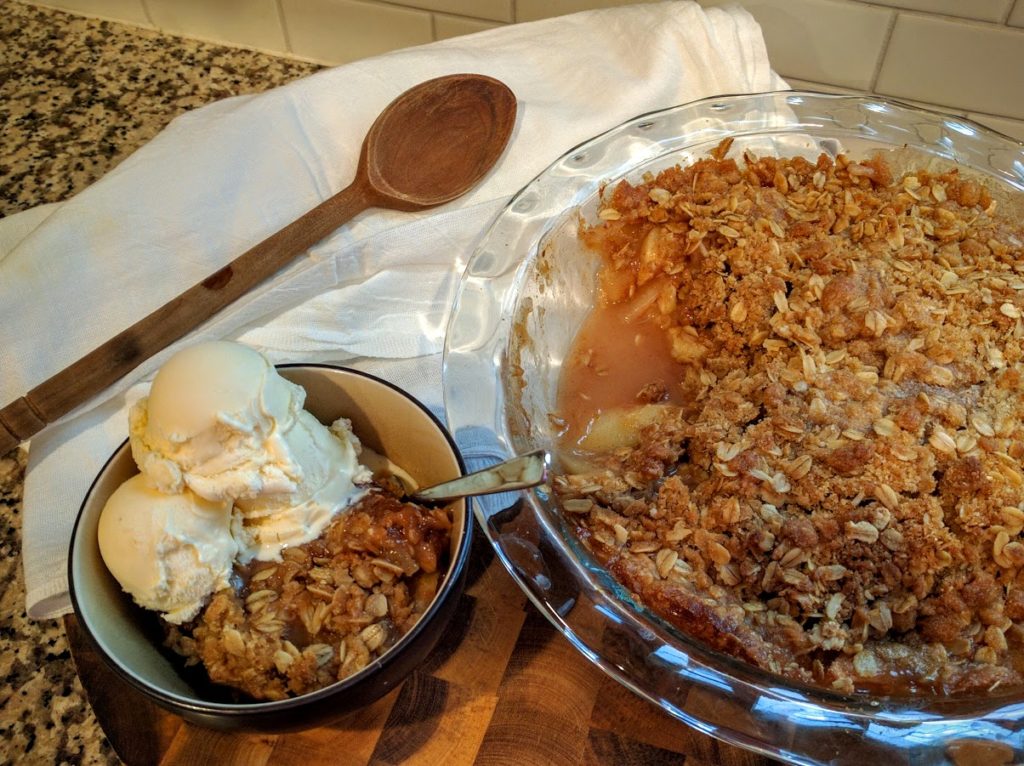
It’s so hard to wait for it to cool off, but I did – I pinky swear. And I cross my heart that if I close my eyes and take a bite, to me, it tastes like a perfect fall day at the apple orchard.
But then again if I add in some vanilla ice cream it tastes like a trip to the orchard followed by a trip to the ice cream shop – which is a win, win in anyone’s version of a perfect day <3
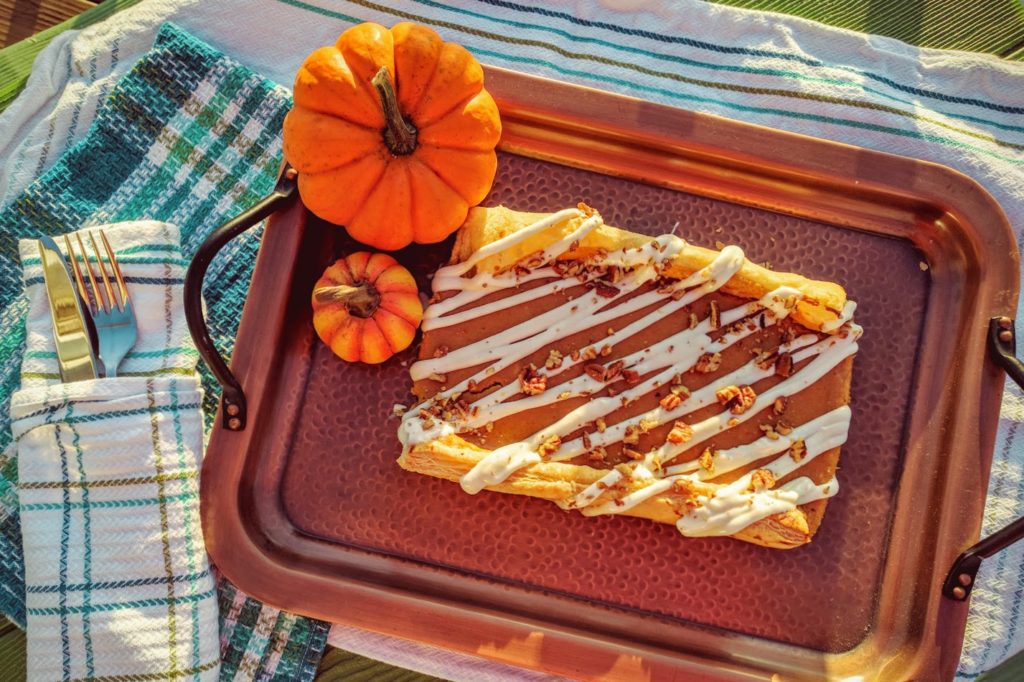
Did you try this recipe? You would also love this fall favorite my Pumpkin Cheese Coffee Cake.
Orchard Fresh Honeycrisp Crisp
Course: DessertCuisine: AmericanDifficulty: Easy/Moderate8
servings25
minutes45
minutesFor The APPLES
3 pounds Honeycrisp apples
1/2 fresh lemon
4 Tablespoons all purpose flour
4 Tablespoons white sugar
1 teaspoon ground cinnamon
- For the Topping
1 cup brown sugar (packed)
1 cup old fashioned rolled oats
1/2 cup all purpose flour
1/2 cup unsalted cold butter cut into cubes
1/2 teaspoon salt
1/2 teaspoon cinnamon
Directions
- Wash, peel and slice apples. Place in a large mixing bowl.
- Squeeze the juice of ½ lemon over the apples.
- Sprinkle the flour, sugar and cinnamon over the apples.
- Pour all of those beautifully coated apples into a 9.5 inch pie pan or 8 x 8 square baking dish.
- Make the Topping
- In a medium bowl combine the brown sugar, oats, flour, salt, cinnamon and butter cubes.
- With (clean) hands begin to mix the ingredients together. You want to make crumbs – I do this by pinching the butter into the dry ingredients.
- Next place this bowl in the freezer for 5-10 minutes while the oven is being preheated to 375 degrees.
- Once the oven is preheated, grab your crumb topping and sprinkle evenly over your apples.
- Bake in a preheated oven for 45-50 minutes.
- Remove promptly and allow to cool for 20-30 minutes before serving
- Serve as is or add a scoop of vanilla ice cream.
- Extras can sit on the couther for 2 days or the whole crisp can be refrigerated for up to 7 days.
